| Home | About | DIY | Recipes | Style |
Showing posts with label Oh Baby. Show all posts

Saturday, June 26, 2010

Making Your Own Cloth Diaper Covers...

I've been thinking about doing cloth diapers with Katie since before she was born--mostly because diapers are really expensive. We had a lot of family that was really nice and basically kept us in diapers until just recently. We've still got some, but we're running a little low. This morning, I decided to take on a project that I had thought about doing for a month or so now. If you don't want to read about it, skip to the end. There are some cute pictures of Katie to see.

First, I decided to make a pattern. This was not as simple as tracing a regular diaper, because it definitely wasn't big enough. I decided to recycle Indy's Dog food bag...Also, we didn't have any newspaper.

To figure out sizing, I measured around Katie's waist, from her belly button to the middle of her back, and the width of the diaper in between her legs. I left her in a diaper for the whole measuring thing...and it was more ballpark than actual science. This is what I came up with. I decided to add 2 inches on each side of what I measured, so I had some extra room, and so it'd be big enough. I made sure all my lines were centered, and then I just basically drew a vertical line from about an inch and a half in to the center on all sides.

This became my pattern. You could probably do this without a pattern, but you'll have to repeat your drawing for each cover you do.

I placed the pattern on my waterproof material: A cute tablecloth I bought from Walmart for $4.00. After looking at all the other plastic-backed material, I decided that this would be nicer--the inside is actually soft, though not a whole lot of it touches Katie's skin.

Once you cut out your pattern, you should have something like this...or something that resembles your own pattern.

I didn't really take pictures of all the sewing stuff, but I used a sewing machine to sew elastic along the legs (I did .75 times the total length of the leg openings). Just sew on the elastic at the ends, for the rest, make a sort of pocket for it--this will allow the fabric to bunch up and stretch if needed. After that, just hem all the edges, and attach Velcro (or snaps, or whatever your choice is) to the tabs in the back, and the front. If you use Velcro that already has adhesive on it, it sticks pretty well, but you might want to tack it down with a few stitches. You might also want to do the tacking by hand, since the adhesive will gum up your sewing machine if you're not careful.

In the end, you should get something like this:

Here's a close up of where the elastic went. I used 1/4" elastic, also from Walmart, for about $1.50 (you get a lot more than you'll need for one).

Here's the inside of the thing. The Velcro on the left I tacked down, the Velcro on the right I did not. I'll be fixing that later.

As I was reading about materials to make the liners out of, I found a lot of people selling terrycloth. I had an older towel that wasn't part of any sets, so I cut it up into pieces that could be folded to increase the thickness and absorbency.

How does Katie feel about saving the environment (and saving her parents a lot of money)?

She likes it!


I love this one. I think she looks so sassy.


And that's all there is to it. I don't have amazing sewing skills, and so it took me awhile to make the first one (an hour and a half or so), but that was due to a lot of issues with me, mostly. I bet a more experienced person could make one in about half an hour, easy. We used this cover all day today, and just replaced the towel liner each time we changed her. No leaks yet, which is great.

A couple of notes:
1. I would just hand wash the cover--I tried running the material through the washer before, and it didn't work out so well. It might work better with higher quality PUL material elsewhere, or try something else.
2. I will probably sew around the edges of my liners before using the rest of them--they fray a bit and can leave behind little bits of towel. Hopefully just sewing around the edges will help this--maybe if you cut yours with pinking shears?
3. You could use other things for the liners too--microfiber towels, maybe even a sham wow if you really wanted to go crazy. :)

Anyway, the best part about it is that I've got enough tablecloth left for about 10-15 more covers. I've probably got enough elastic for the same. The Velcro I used is leftover from another project (fixing some of Nate's sandals), but it was about $4.00, and buying another set would probably let me finish it up. Bottom line is, for about $10, I've got Katie's daytime diapering covered for awhile. We're still planning on using a disposable diaper at night, just because it's more absorbent. As long as this works, we should save quite a bit of money in the long run...here's hoping!

Tuesday, January 5, 2010

Let Me Count the Ways...

I'm in love with our new little girl, and we've only just met.
Early Evening on Wednesday...

Katie Linn Murray was born on December 31, at 1:45 am. She weighed 8 pounds, 3.5 ounces, and was 21 inches long. We went to the hospital for the induction at 8:00 am on Wednesday the 30th, the doctor broke my water around 2:30 pm, I got an epidural around 10:00 pm, we watched Star Trek the movie, and then Star Trek the Next Generation (on TV) and then I started pushing at 1:26 am. Katie came after just 19 minutes (like, 5 contractions or so) and was quickly hailed as the best baby ever (at least by her parents, though the nurses were quite fond of her too).


She's great. She does all those things that newborns do really well--eating, sleeping, diaper filling, and looking cute in various tiny clothes. Our experience may be typical by the facts, but it has sure changed our lives forever. We're parents...and it's overwhelming, and exciting, and somehow normal all at the same time. We've gotten so much love and support and many well-wishes from everyone. Thank you for your love and kindness.

I'm really excited for 2010 and for all the challenges, and adventures that it's going to bring. Nate starts school soon, he's back at work as of yesterday, and we're both learning how to do this whole baby thing. The diaper changing thing is going remarkably better...and faster...and more in the diaper. :) Basically, life holds so much promise and potential for us right now, and with all the love and support that we have, it's going to be a good year.

Tuesday, November 17, 2009

"Nursery" Pictures

So, we don't really have a nursery, exactly. We do have a second bedroom, but it's on another floor in the house. While I know that having her sleep in another room could be a good thing, knowing myself, and how I'd react to a baby monitor, I'm sure that I'd be getting up for every single little whimper, running downstairs to check on her, realizing she's fine, and then running upstairs again to sleep...only to hear something else to run back down again.

Just thinking about it is tiring.

Now, I'm sure that I'll do a similar thing with her in our room--but at least this way, I can check without stairs, at least until we're a little more used to her being around. Also, if you want to stay with us, we've still got a room for you.

So, the nursery, for now, is part of our room. The paint and the curtains came with the room--not awful, but we probably would have decorated differently if it was our house.

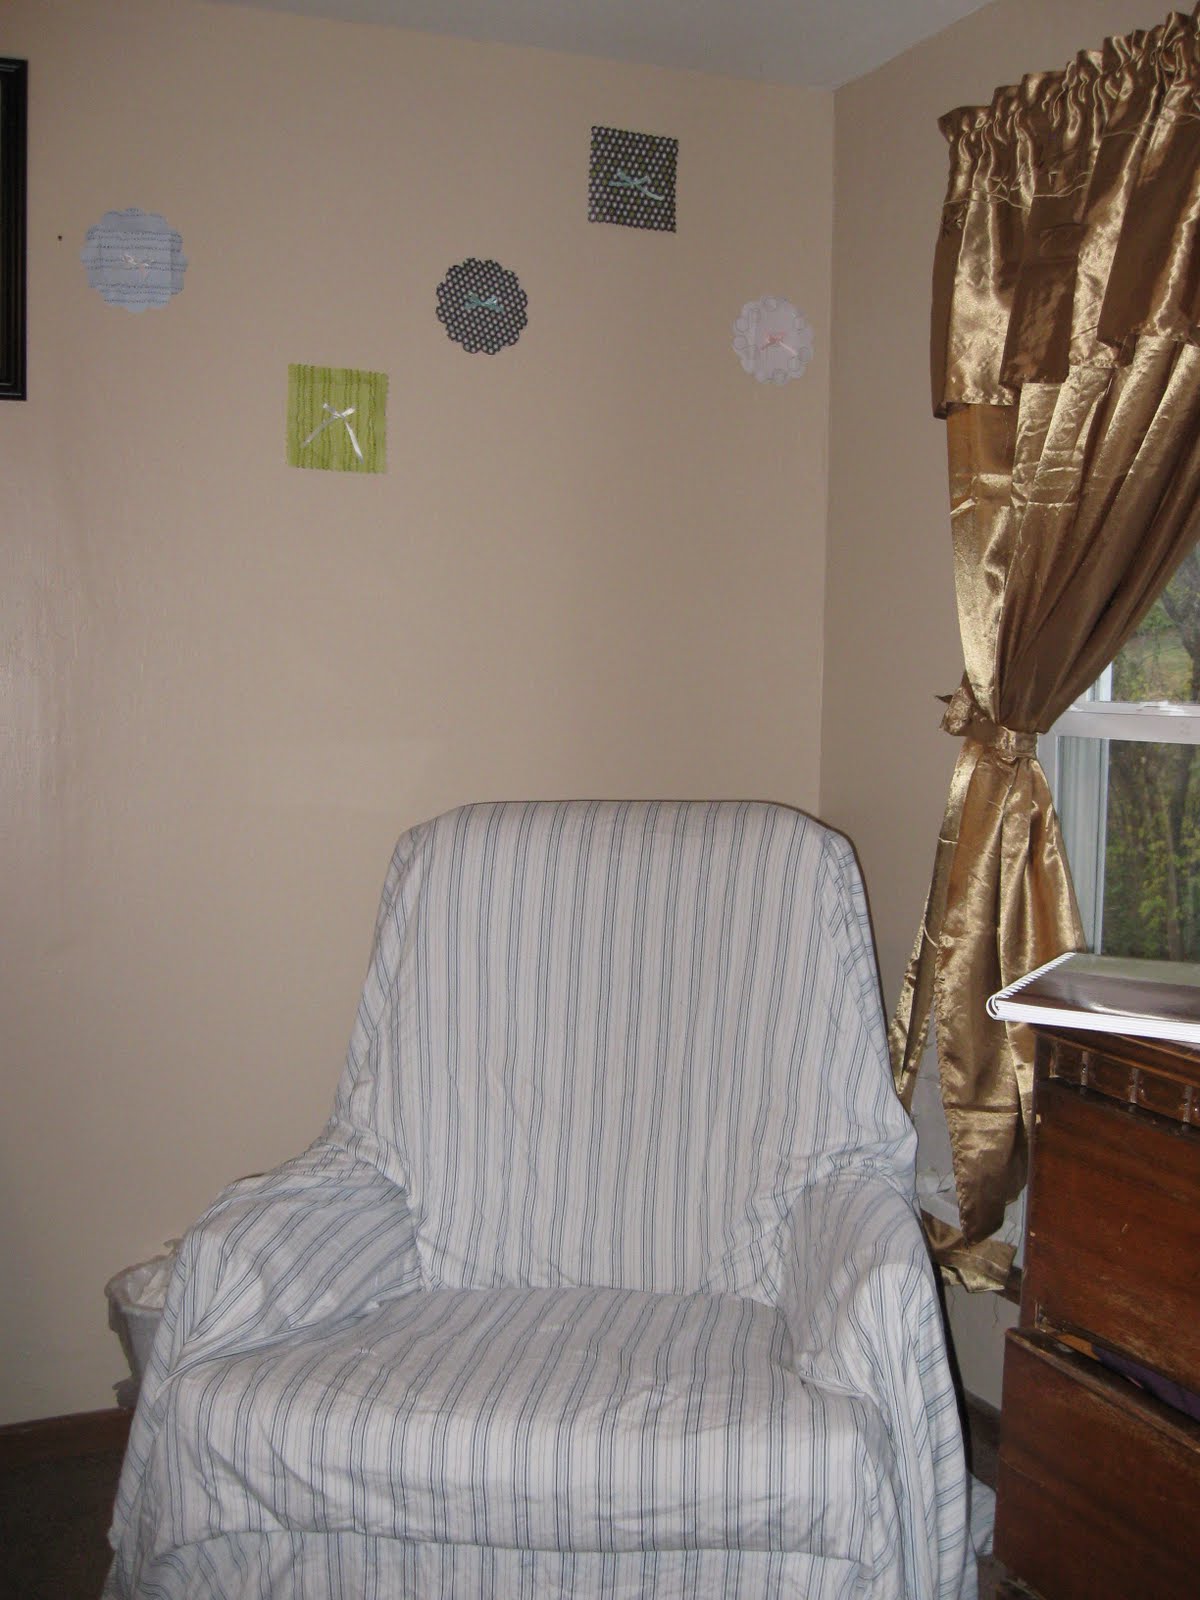
This is the rocking chair that we have. I originally wanted a glider, but after looking into prices, and hearing that they actually can be pretty not-useful I went with this rocking chair that I found at a local thrift store for $12. It currently has a sheet on it, because it's ugly, and a little old, and needs to be recovered. We'll see if that actually happens before our baby comes, or if it happens some other time...

This is our crib--it will eventually convert into a toddler bed. The adorable quilt there was made and sent to us by my sister Emily--so cute! In the previous picture, and this one, you can see some little wall decorations. I found some packs of cute shaped paper at Michaels for a dollar each, glued them to some foam board from the dollar store, hot glued some little bows made from ribbons on presents at our baby shower, and stuck them to the wall. The total cost was less than $10, and I think the overall effect is pretty cute.

This is the closet, it's right next to her crib. We stuck a nightstand in the bottom that was already in the apartment, rearranged the shelves, and used a curtain rod from somewhere else to make a place to hang her clothes. Also, not expensive, and now there's a good place for her clothes, and baby accessory-type things.


This is a close-up of the baskets and the nightstand. The baskets were only a dollar each at the dollar store--and look at the cute little butterflies on them. Also, there's a baby book there that's completely adorable (Thanks for the gift card Aunt Lori, Erica and co. :)

Here are some toys that she has, that will likely not stay in the crib once she's born. There's the dog from Kathi Elison and co, and the frog from Diana Elison and Grace. Also, there's the turtle, which was Nate's when he was little. Not pictured in the crib my lamb and a bear rattle from when I was a baby. Tender, eh?

Lastly, there's this picture frame, which is currently filled with the people who came with the frame. It says, "Family Tree" on the bottom, and it will soon be filled with pictures from our very own little family sapling.